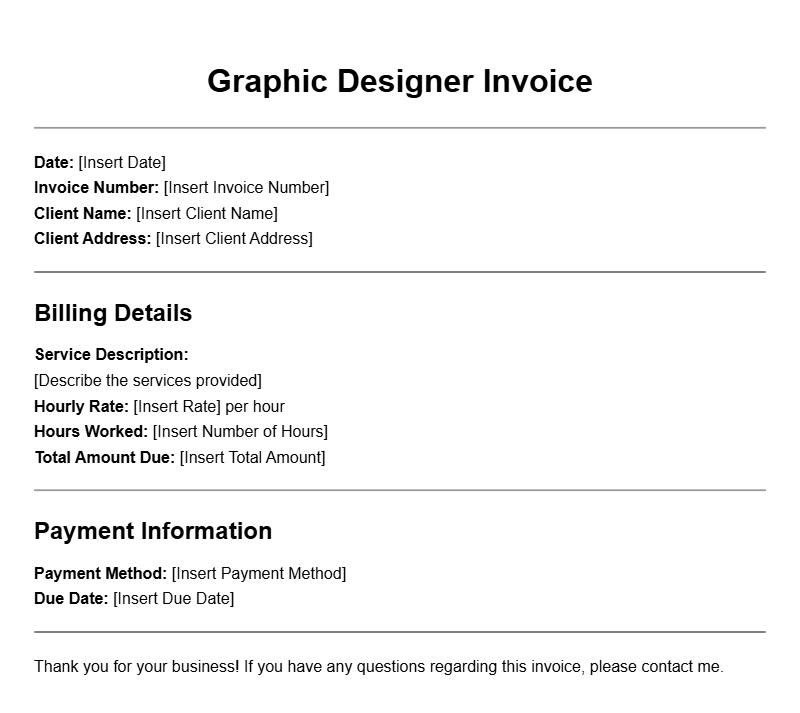
If you’re a graphic designer, you know that managing your finances can sometimes be as challenging as creating your next masterpiece. That’s where graphic designer invoice templates come into play. These templates not only simplify the billing process but also help ensure you get paid promptly for your hard work. Let’s explore what these templates are, when to use them, and how to create your own.
WHAT ARE GRAPHIC DESIGNER INVOICE TEMPLATES?
Graphic designer invoice templates are pre-designed documents that allow you to create professional invoices quickly. They typically include all the necessary components to outline your services, rates, and payment terms, making it easy for clients to understand what they are being billed for.
WHEN TO USE INVOICE TEMPLATES
Using an invoice template is essential whenever you complete a project, whether it’s a logo design, branding package, or a website layout. Sending a clear invoice right after project completion helps to reinforce your professionalism and can lead to faster payments. It’s also useful when you’re working with multiple clients, ensuring consistency in your billing process.
KEY COMPONENTS OF AN INVOICE
A well-structured invoice should include:
- Your business information: Include your name or company name, address, email, and phone number.
- Client’s information: The name and address of the client you are invoicing.
- Invoice number: A unique number for reference.
- Date of issue: The date the invoice is sent.
- Due date: When you expect payment.
- Description of services: A detailed list of what you are charging for.
- Payment terms: This can include payment methods and any late fees.
STEP-BY-STEP GUIDE TO CREATING YOUR INVOICE
- Choose a template: Find a graphic designer invoice template that matches your style. You can create one using software like Microsoft Word, Google Docs, or even design tools like Canva.
- Fill in your details: Input your business information at the top, followed by your client’s details.
- Generate an invoice number: Use a simple numbering system to keep track of invoices.
- List your services: Provide a clear breakdown of the work done, including quantities and rates.
- Add payment terms: Specify how and when you’d like to be paid.
- Customize the design: Adjust colors, fonts, and layouts to match your brand identity.
- Review and send: Before sending, double-check all details for accuracy.
EXAMPLES OF INVOICE TEMPLATES
Here’s a simple example of what your invoice might look like:
——————————————–
Your Business Name
Your Address
Your Email | Your Phone Number
——————————————–
Invoice #: 001
Date: 2023-10-01
Due Date: 2023-10-15
——————————————–
Bill To:
Client Name
Client Address
——————————————–
Description | Quantity | Rate | Total
Logo Design | 1 | $300 | $300
Brand Guidelines | 1 | $200 | $200
——————————————–
Total Amount Due: $500
Payment Terms: Due upon receipt
——————————————–
COMMON MISTAKES TO AVOID
- Not including an invoice number: This can make tracking payments difficult.
- Omitting payment terms: Clients may delay payment if terms are unclear.
- Failing to proofread: Typos can undermine your professionalism.
TIPS FOR CUSTOMIZATION
Make your invoice stand out by incorporating your brand’s colors and logo. You might also consider adding a personal touch, like a “Thank you” note at the bottom. Additionally, think about using different templates for different types of projects; a more formal design for corporate clients and a more creative one for startups, for example.
With the right graphic designer invoice template, you can streamline your billing process and keep your finances in check. By following these guidelines, you’ll ensure that your invoices look professional and are easy for clients to understand. Happy designing, and may your invoices always be paid on time!
Document Examples & Template Samples