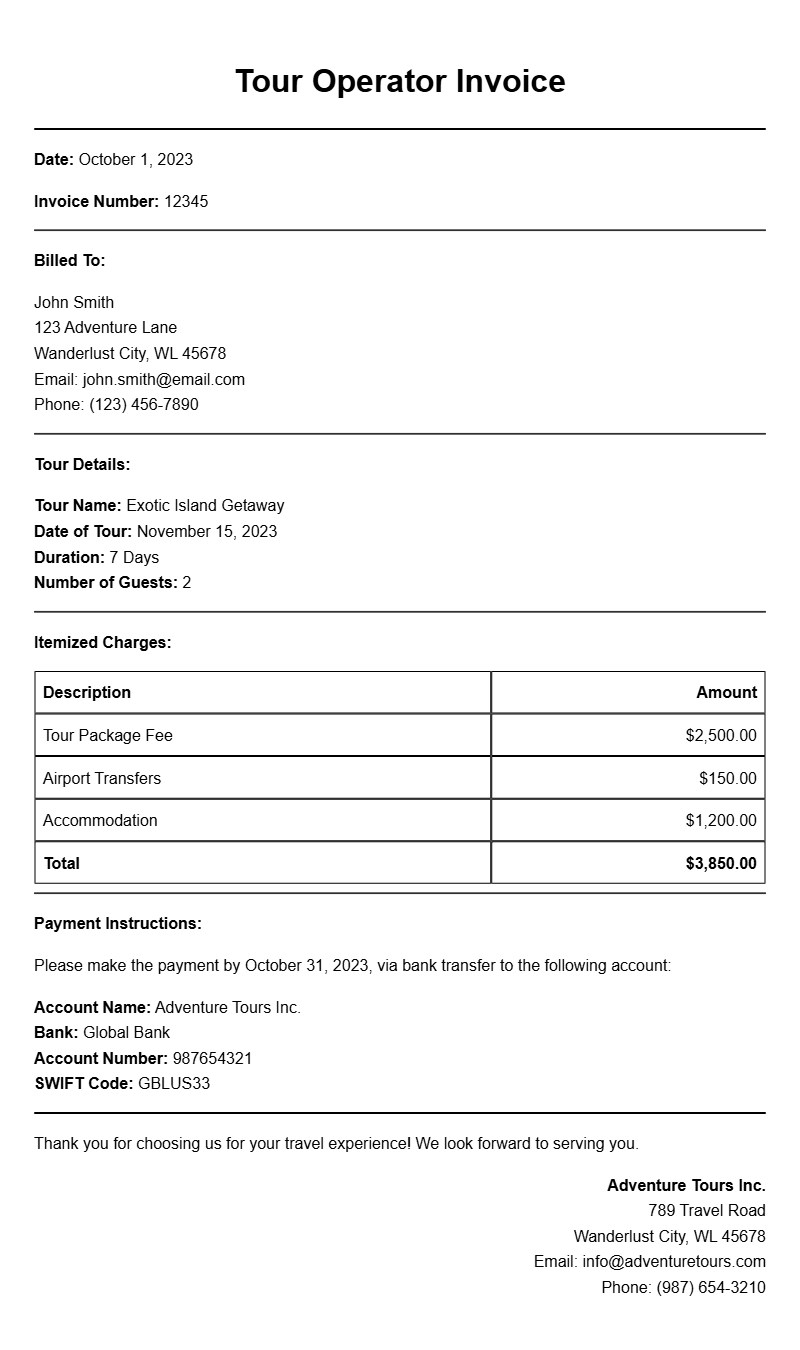
Creating a tour operator invoice is a vital step in the travel industry, ensuring that all services rendered are properly accounted for and paid. If you’re a tour operator, you know that clarity and professionalism in your billing can significantly impact your cash flow and client relations. This article will guide you through understanding what a tour operator invoice is, when to use it, and how to craft one effectively. We’ll also include practical examples and tips to customize your invoices for your specific needs.
What Is a Tour Operator Invoice?
A tour operator invoice is a document that details the services provided to a client, including the total cost and payment terms. It serves as a formal request for payment and includes essential information about the services rendered, such as tours, accommodations, and additional fees.
When Is It Used?
This type of invoice is typically used after a tour or travel service has been completed. It can also be issued in advance for prepaid services or deposits. Having a well-structured invoice helps reinforce professionalism and ensures you receive payment in a timely manner.
Key Components of a Tour Operator Invoice
- Your Business Information: Include your company name, address, and contact details.
- Client Information: The name, address, and contact details of the client receiving the invoice.
- Invoice Number: A unique identifier for tracking purposes.
- Date of Issue: The date you are sending the invoice.
- Service Description: Detailed breakdown of the services provided, including dates and locations.
- Costs: Clear pricing for each service, along with any discounts or additional fees.
- Total Amount Due: The final amount payable by the client.
- Payment Terms: Specify when the payment is due and acceptable payment methods.
Step-by-Step Writing Guide
- Gather Information: Collect all relevant details about the services provided and the client.
- Choose a Template: Use a simple, clean template that aligns with your branding.
- Fill in Your Business Details: Make sure your contact information is accurate and easy to find.
- Add Client Information: Double-check the client’s details to avoid any confusion.
- List Services: Clearly outline each service provided, including dates and descriptions.
- Calculate Costs: Ensure all prices are accurate and include taxes if applicable.
- Review and Send: Check for errors, then send the invoice in a professional manner.
Realistic Examples/Templates
Here’s a simple example of what a tour operator invoice might look like:
Your Company Name
Your Address
City, State, Zip
Phone Number
Email Address
Invoice Number: 001
Date of Issue: [Insert Date]
Bill To:
Client Name
Client Address
City, State, Zip
Description of Services:
– 5-Day Guided Tour of Italy: $1,200
– Hotel Accommodations (3 nights): $600
– Airport Transfers: $200
Subtotal: $2,000
Tax (10%): $200
Total Amount Due: $2,200
Payment Terms: Due within 30 days. Acceptable payments: bank transfer, credit card.
Common Mistakes to Avoid
- Not including your business information, which can lead to payment delays.
- Using vague descriptions of services, making it hard for clients to understand what they are being charged for.
- Failing to double-check the invoice for accuracy before sending.
- Not specifying payment terms, leading to confusion about when payment is due.
Tips for Customization
Make your invoices stand out by adding your logo and using your brand colors. You can also customize the layout to fit your style. Consider adding a personal note thanking your clients for their business, which can enhance customer relationships.
By following these guidelines and using the examples provided, you can create effective tour operator invoices that not only look professional but also facilitate timely payments. For more invoice templates tailored to different professions, check out resources like dance instructor invoices or teacher invoices.
General Document Template Collection